How to Hack the PlayStation Classic with Bleemsync
Add your favourite PS1 games to the miniature marvel with this handy guide
Six months ago I wrote a short piece on the announcement of the PlayStation Classic, Sony's much-maligned entry to the Tiny Console market. I concluded this award-winning journalism with the following:
"Sadly, it's unlikely I'm going to get my desired Frogger/Skullmonkeys/Croc/Alfred Chicken mini-console anytime soon."
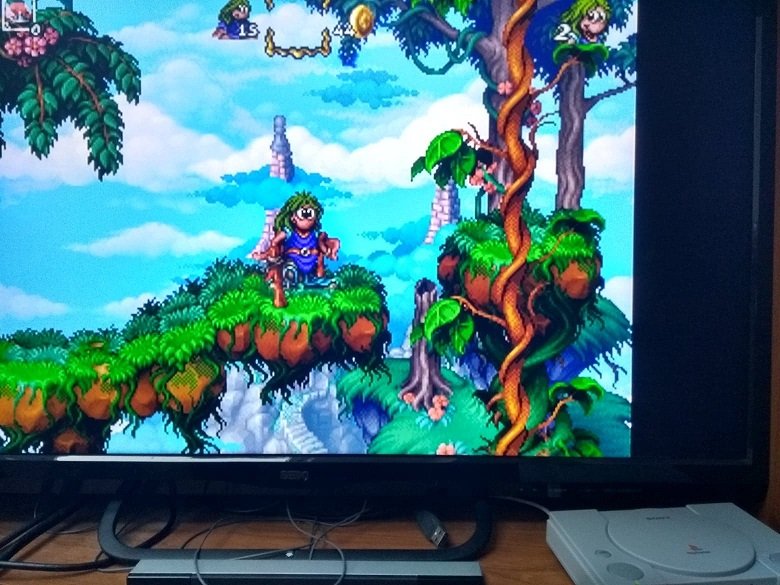
Now, fate has smiled upon me, and I have the Frogger/Skullmonkeys/Croc/Lomax/Gex/Rogue Trip: Vacation 2012/Alfred Chicken mini-console of my dreams sat right under my television. Yes, the PlayStation Classic has been hacked and I have filled it with my childhood nonsense. I will instruct you on how to do the same, as clearly and precisely as possible.

IMPORTANT: I did this with a Windows PC. This guide consequently assumes basic knowledge of Windows features. Using a Mac, I imagine it's not enormously different, but I don't know MacOS and can't advise on it as a consequence. Ditto, Linux.
ALSO IMPORTANT: It's very possible that more efficient ways of doing this exist. I'm presenting the steps I used exactly as I used them, because they worked.
SIMILARLY IMPORTANT: You will need PlayStation game images in .bin/.cue format. .PBP format apparently works too, but I didn't use those myself. Obviously I will not be advising on how to acquire PlayStation games besides recommending you rip your existing collection. Again, .bin and .cue are the ones you need.
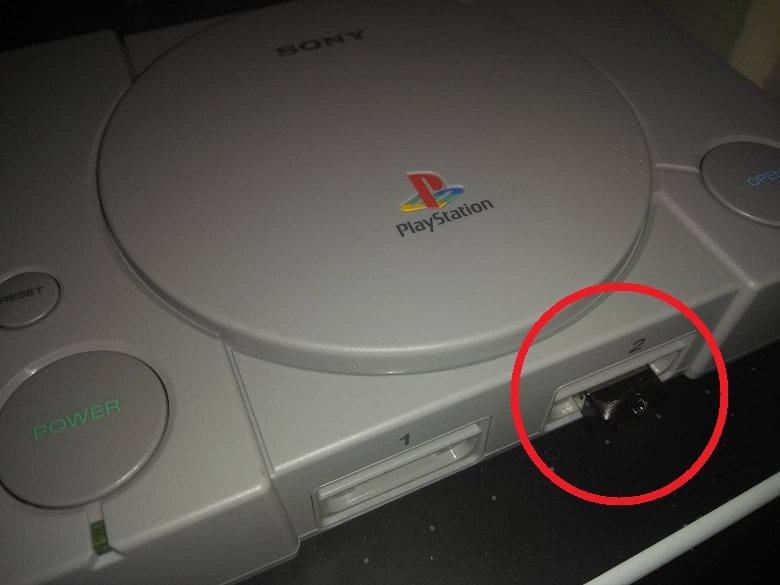
OH! VERY IMPORTANT: It may be worth waiting on this. At the moment, there are limitations to PS Classic hacking; for example, the method I used requires a memory stick to be placed in the second controller's USB port. You can still play multiplayer, but you need a mains powered USB hub to do so. This is a niggle that will likely be removed in a future update. Additionally, the memory stick needed to run the hack is somewhat fiddly. You can't just use any; you'll have the most luck with a USB 2.0 stick and even then only a few models will work. The stick I've linked below for US residents is USB 3.0, but has been reported as working. If you've got an older stick lying around, you may not need to buy a new one at all. Again, this is an issue that will be ironed out, so you might just want to, you know, hold your fire. If you must have T'ai Fu: Wrath of the Tiger right this minute, please read on.
Step 1: Buy a PlayStation Classic and a compatible memory stick. In the UK, I used this one . Readers in the United States can put down their hot dogs and fully-automatic weapons and grab this one .
Step 2: Place the memory stick in your computer and format it to FAT32. You can do this by right-clicking the drive when it shows up in My Computer and selecting Format.
Step 3: Rename the memory stick "SONY". It won't work unless you do.
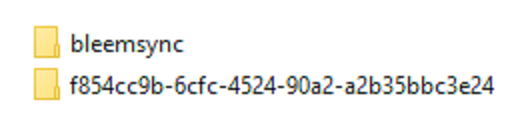
Step 4: Download the latest version of Bleemsync, then extract the two included folders to the root of your SONY memory stick.
Step 5: With your PlayStation Classic unhooked from all wires (power, HDMI, controllers), insert the memory stick containing Bleemsync into the second controller port.
Step 6: Hook up your PS Classic (power and HDMI), and switch it on. It should display the white bootup screen for a split second, fade quickly to black, then boot up. You'll then see a Bleemsync splash screen confirming that the initial hack has been successful. After this, your PS Classic will switch off. It may then reboot. Mine didn't, but it didn't cause me any problems. Switch it off and unplug the power, HDMI and controller. Don't remove the memory stick. You're now ready to add games.
Step 7: Grab the power/USB cable that came with your PS Classic and connect it to your computer. Wait about ten seconds, then switch your PS Classic on by pushing the power button. You'll get the standard USB connection noise and the green light on the unit will change to orange, then back to green.
Step 8: Go to bleemsyncui.com. The URL won't load unless the PS Classic is plugged in and switched on. You should see the BleemsyncUI interface.
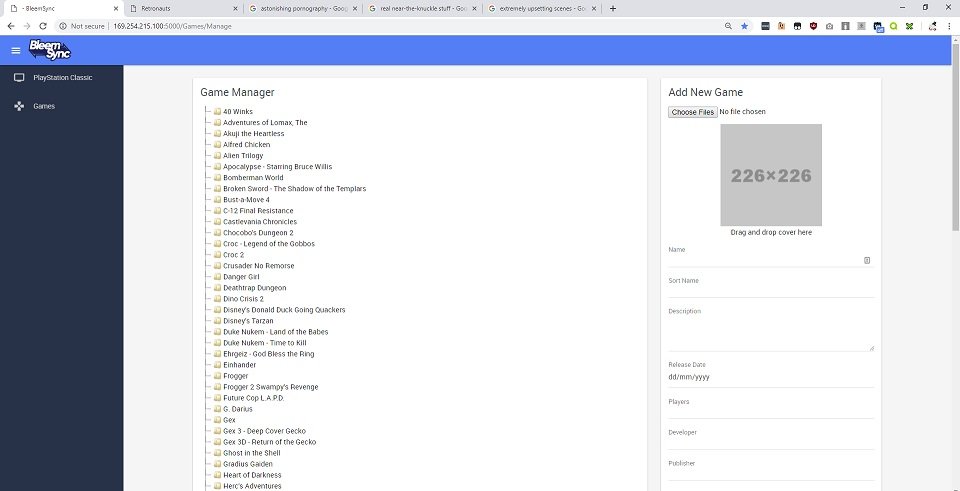
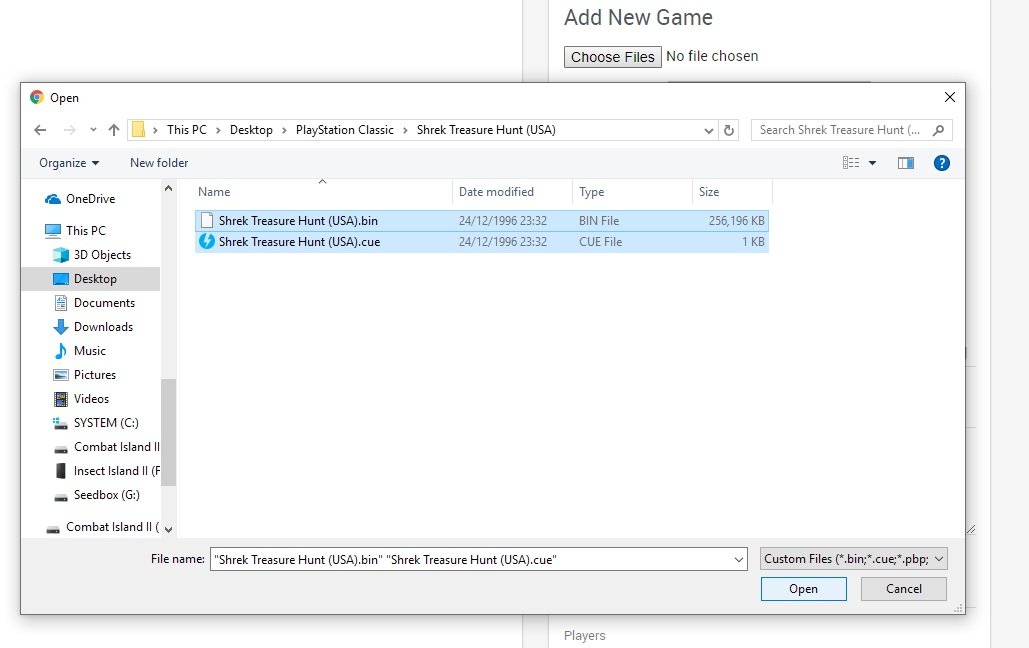
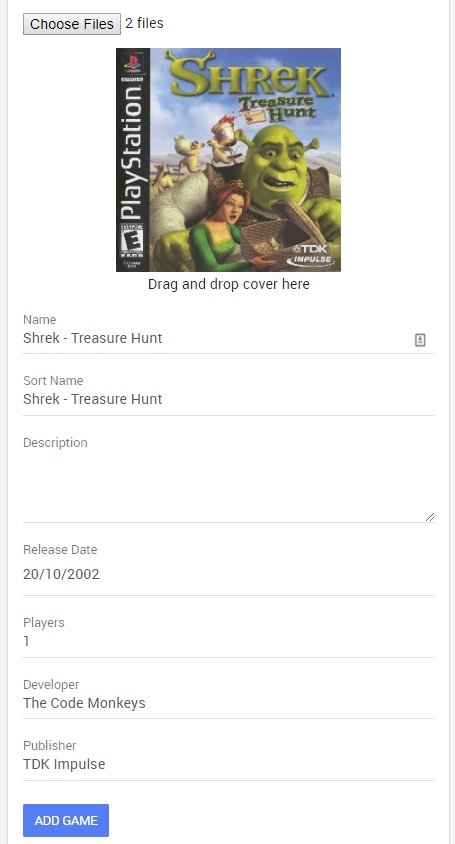
Step 9: Click "Add Game", then "Choose Files". Navigate to and select the relevant .bin and .cue files for the game you're wanting to add, then click "Open". For multi-disc games, select all the files for each disc. Bleemsync should automatically find the game's boxart and populate the other fields with its general info. Feel free to edit this if you want; being a stickler for grammar, I had to fix the capitalisation on some of the entries. When you're done, click "Add Game".
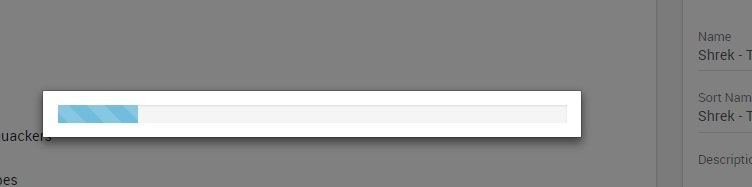
Step 10: Watch the bar fill. You can use this time to switch tabs and Tweet about your hacker prowess if you wish. When it's done, the game will appear as a folder on the left of the screen.
Step 11: That's it. The game is on the PS Classic. Congratulations, you are Matthew Lillard/Angelina Jolie and you have hacked the planet, which in this instance is a PlayStation Classic. When you've added all the games you want, simply close the tab, unplug the system from your computer and hook it back up to your TV.
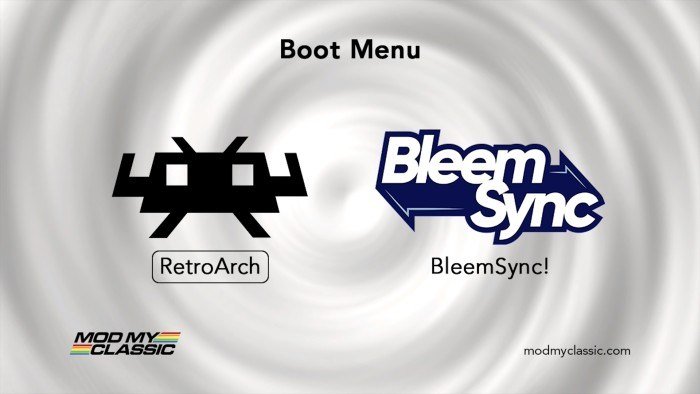
Step 12: Switch the PS Classic on. You'll see the Bleemsync splash and have the choice of opening Retroarch or Bleemsync. Pick the latter and voila, all those wonderful games you added will be at your fingertips. The system's Retroarch functionality is a whole other can of worms I'm not personally interested in exploring, but it's there if you want to look into it.
At any rate, you're done. Your PlayStation Classic now has Duke Nukem: Land of the Babes on it.
A final useful tip: When in-game, hitting Select + Triangle opens the convenient in-game menu, allowing you to exit back to the games menu as well as swap discs in multi-disc games such as Final Fantasy IX. There are also settings to mess around with, but I'd advise against doing so as it really doesn't seem necessary.
Please feel free to comment with any questions and I'll do my level best to answer them.


